Somewhat Damaged is a Main Quest in Cyberpunk 2077: Phantom Liberty that takes place after Black Steel in the Hour of Chaos. As part of our Cyberpunk 2077 guide, we're going to list everything that you need to know about Somewhat Damaged.
Cyberpunk 2077: Phantom Liberty - Somewhat Damaged
Hot on Songbird's trail, V descends into the bowels of Night City — into a place where secrets are buried deep and survival at any cost becomes the order of the day. This could be V's most dangerous excursion yet, if you can believe it.
Below you'll find an overview of the Main Quest, Somewhat Damaged, which includes a point-by-point Walkthrough, along with additional information that may influence your progress.
Walkthrough
- Enter the hole in the building
- Head on down through the wreckage and check the truck
- Follow the digital residue
- You can break through the gate at the bottom with enough Body, otherwise you'll need to find another way (look for a hatch on the floor and swim through to the ladder)
- Keep following the tunnel and swim through to another ladder
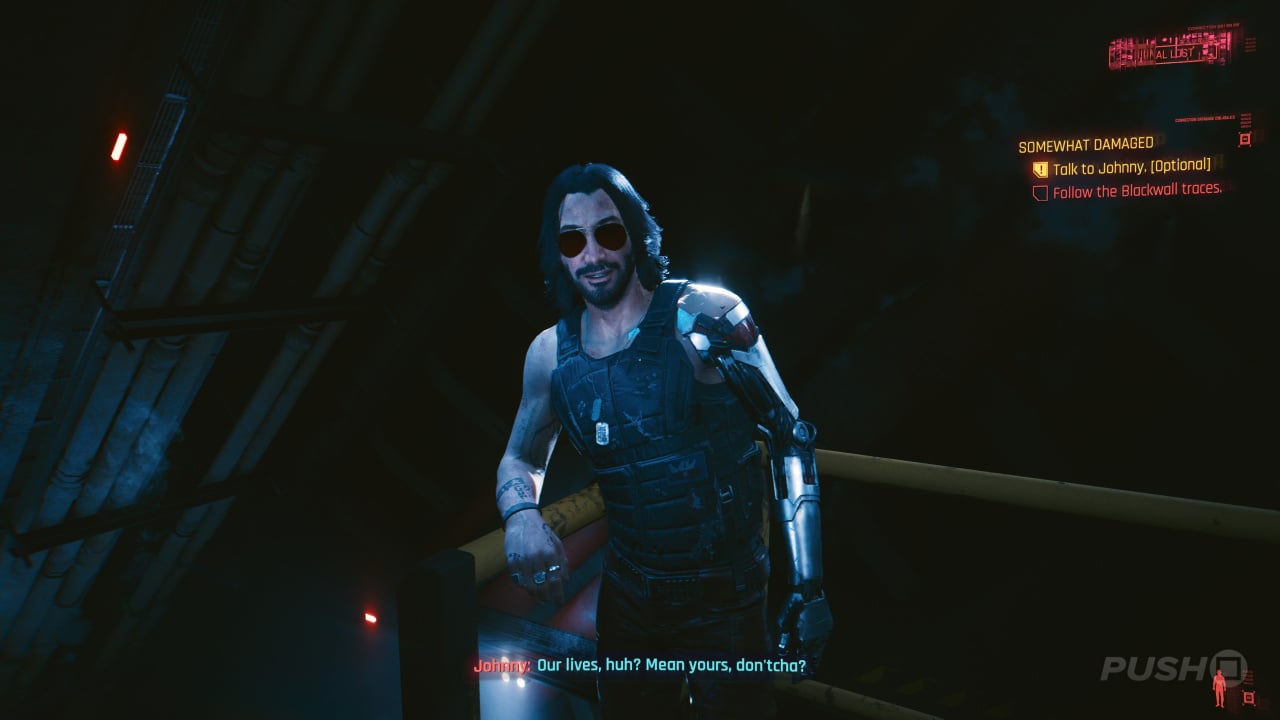
- Speak to Johnny
- Jump down into the abyss
- Get to the control panel
- Speak with Songbird
- Force open the door behind you and follow the trail
- Take the elevator
- Talk to Johnny if you like
- Get off the elevator and follow the data
- When you come to the locked door, turn around and look to the left to find another door that you can open
- Keep following the data and watch the scene between Songbird and Hansen
- You'll come to a door that slams shut
- Go into the server room to the left (you can use the map on the wall if you lose your bearings)
- Access the terminal, you'll be kicked out
- Access it again using V's personal link
- Enter the tunnel that opens on the floor
- Get to the second terminal, get kicked out
- Scan the terminal
- Crawl under and disable it
- Hit the dialogue option before time runs out
- Run from the robot, into the room where you saw the vision of Songbird and Hansen
- Drop into the tunnel to the left
- Go through the tunnels and up into the following rooms, before finding another vision
Surviving the Robot
- After this, you'll need to find two terminals and avoid the robot
- If the robot gets the jump on you, it's instant death — which is always fun
- You can tell when the robot's close by the flickering on the screen
- When the flickering starts, crouch behind some cover anywhere that's too narrow for the robot's size
- This whole sequence is somewhat scripted, and it's not quite as threatening as it might appear
- The two terminals are in engineering and security — basically the two wings you haven't been to yet
- Keep in mind that every time the robot appears or leaves, the game will autosave — so if you do get caught, you shouldn't lose too much progress
- Once you've hacked the last two terminals, return to the gate and open it using the terminal
- You'll now have to run from the robot
- Vault over obstacles and run around others, before hitting the control panels on the doors to get through them
- You do need to be quite quick here, or again, it's an instant game over
- Keep following the route and watch another vision
- Force open the door and you'll come to a room that's coated in red data
- Speak with Songbird
Walkthrough (continued)
- Access the terminal and select the shutdown protocol
- Exit the control room and watch the vision
- Next, you'll need to find the three rooms and sort out their technical issues
- In the Neural Network room, try the terminal and then scan the area
- Disconnect the three cables at their junction points
- Two cables in, and the robot will come back
- It'll do a patrol of the room, anticlockwise, so just duck behind and sneak around the table as it moves so that you're not spotted
- Next, go to the Datafort Central Command room, which is just left down the hall
- Try the terminal, and then quickhack the surrounding servers to destroy them
- Once you've destroyed four, the robot will drop from above
- Get behind the control panel, around the edges of the room, to avoid detection
- Leave the main server room and find the remaining two servers on the way back
- Leave the Datafort portion of the labs and head left again, down to Thermic Control
- Do not try the terminal — it's a trap, and the robot will get to you before you can do anything
- Instead, hide behind the barriers in the next room or in the crawlspace by the door that you came through
- Once the robot's gone, use the terminal
- Hide again if necessary
- Scan the terminal and follow the wires to the shutter at the window
- Open the shutter and jump outside
- Interact with the power box
- Now you need to go back to core control room where you spoke with Songbird
- In the larger room, the robot will return, and you'll need to avoid its patrol
- One of the easiest ways to do this is to just hide and rotate around the central pillar where the steps are
- The robot does not go back on itself — it follows a set route, so the trick is to just not get caught in its path
- Make your way back to the core control once the robot's gone
- You'll get a cutscene, then play through some visions
- You can take the part from the robot once you're back
- Jump through the broken window and onto the walkway below
- Speak with Songbird
- You'll get a key dialogue choice during this conversation
- Quest complete
Did you find this walkthrough for Somewhat Damaged useful? For more information on Cyberpunk 2077: Phantom Liberty, including All Quests, be sure to check out our Cyberpunk 2077 guide.


Comments 0
Wow, no comments yet... why not be the first?
Leave A Comment
Hold on there, you need to login to post a comment...